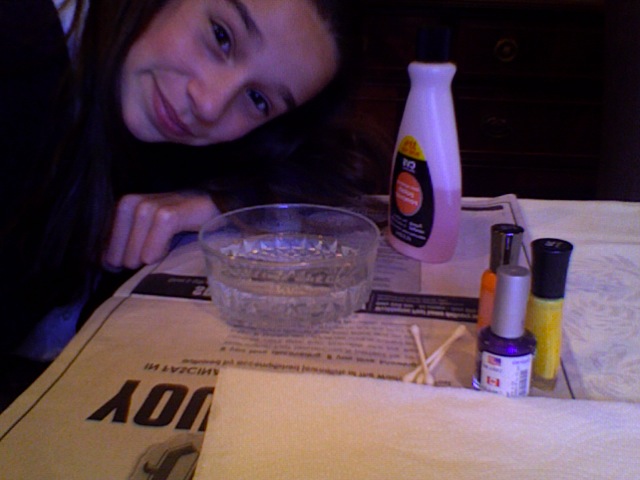
You will need
- a bowl of water
- 2 or 3 nail polishes
- toothpick
- paper towels (lots)
- Q-tips
- nail polish remover
- top coat (and bottom coat)
Step 1: Prep
So you are going to get the place you are doing your nails ready so you won't get it all messy and whatever. Get all of your supplies too.
Then paint a clear bottom coat on your nails, you may not usually do this but it helps the shin of the top coat. I don't have a clear polish but if you do you should use it.
Step 2: Color
Put one drop from each nail polish (I'm using purple, yellow, and orange my favorite colors!) right smack dab in the middle of the bowl. Since the yellow didn't really show up, I just used purple and orange.


Step 3: Swirl
Take your toothpick and drag it from the middle out, or the out to the middle. Make any design you want.


Step 4: Dip
Then simply dip your finger in to the water with your nail flat on top. Try as hard as you can to not get it on your skin. If you do it's okay, you can fix it later.

Use as many designs as you want in the first drops that you do. Then when you use all you want up, re-do it again. To get rid of it, take your toothpick and stir it around your finger. It should look like this. Yikes!

Step 5: Fix
Immediately after you get your finger out, take the paper towel and wipe off as much nail polish as you can.
Step 6: Repeat
Do this with all of your fingers!
Step 7: Double Check
When your nails are dry, if you have remaining nail polish on your skin, put some nail polish remover on a Q-tip and rub it where the remaining nail polish is.

Step 8: Complete
Once they are dry, put on a top coat of clear nail polish. Like I said I don't have any so I won't be doing that!
This is the complete look! I love these nails! So cool!


This camera is really bad!! Haha!
And thanks to Rosie for teaching me this a while ago! And thanks to the world for realizing this is an awesome trend! Talk to y'all later!
- Katie Faith
No comments:
Post a Comment